
How to Auto-Update Plugins
We are glad to announce that XYZ Theme is introducing its own Auto-Updater that will let you update the plugins downloaded from our website directly through your dashboard. For now this Auto-Updater is available for plugins(not for themes) only.
How to Download and Install XYZ Theme Auto Update Plugin
- First of all download the XYZ Theme Auto Update plugin.
- For the installation, go to your WordPress website and click on Plugin > Add New.
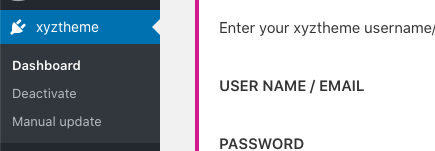
- After uploading activate the plugin and then you will find XYZ Theme Dashboard.
- Find the downloaded plugin in your laptop/PC/tab or other device’s Downloads folder and then upload and activate the plugin.
- Clicking on the Dashboard will open a login page.
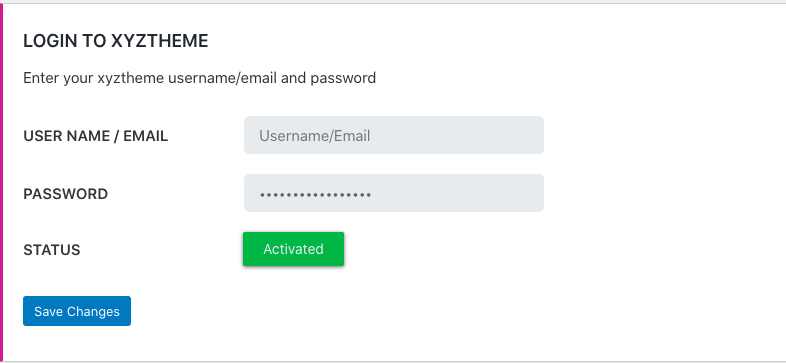
- Enter your XYZ Theme login details here like Username and Password.
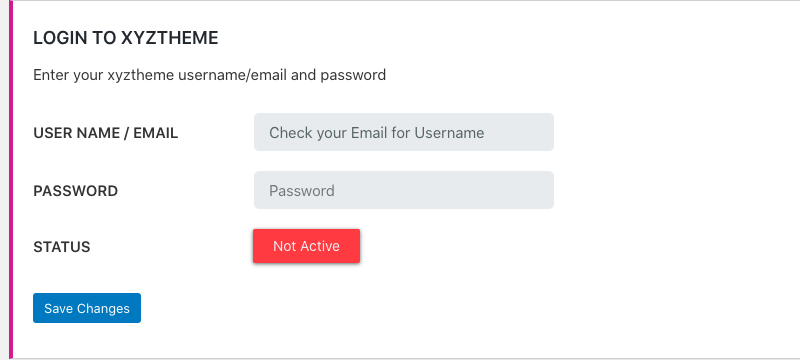
- Click on Save Changes tab and the Status will change from Not Active to Activated.
- Now to update the plugins downloaded from XYZ Theme, go to the Plugins page and check for the updates available.
- If updates are available, then click on the update now option.

Note:
- The number of plugins auto-updated via XYZ Theme Auto-Updater will also be counted under your daily download limit.
- The product you want to auto-update should have an Auto Update Available Status as “Yes”. To check this, you need to go to that specifc product page in our website.
- If you find any error or problem regarding this auto-updater plugin, then you can create a ticket explaing your problem.
Requirements
Your WordPress website should have WordPress version 5.3.2 or more and PHP version 7.2 or more. For now the WordPress Multi-sites are not supported.